Sew-along: Vogue 1669: vintage coat - royal blue version - finished 23-6
This is my second Vogue 1669 coat. I made a faded blue version for myself. This is the royal blue version for my mom in law and later I will make a darkgrey version for my sis.
Be prepared for a lot of pictures, additional info at the bottom.
Sew along:

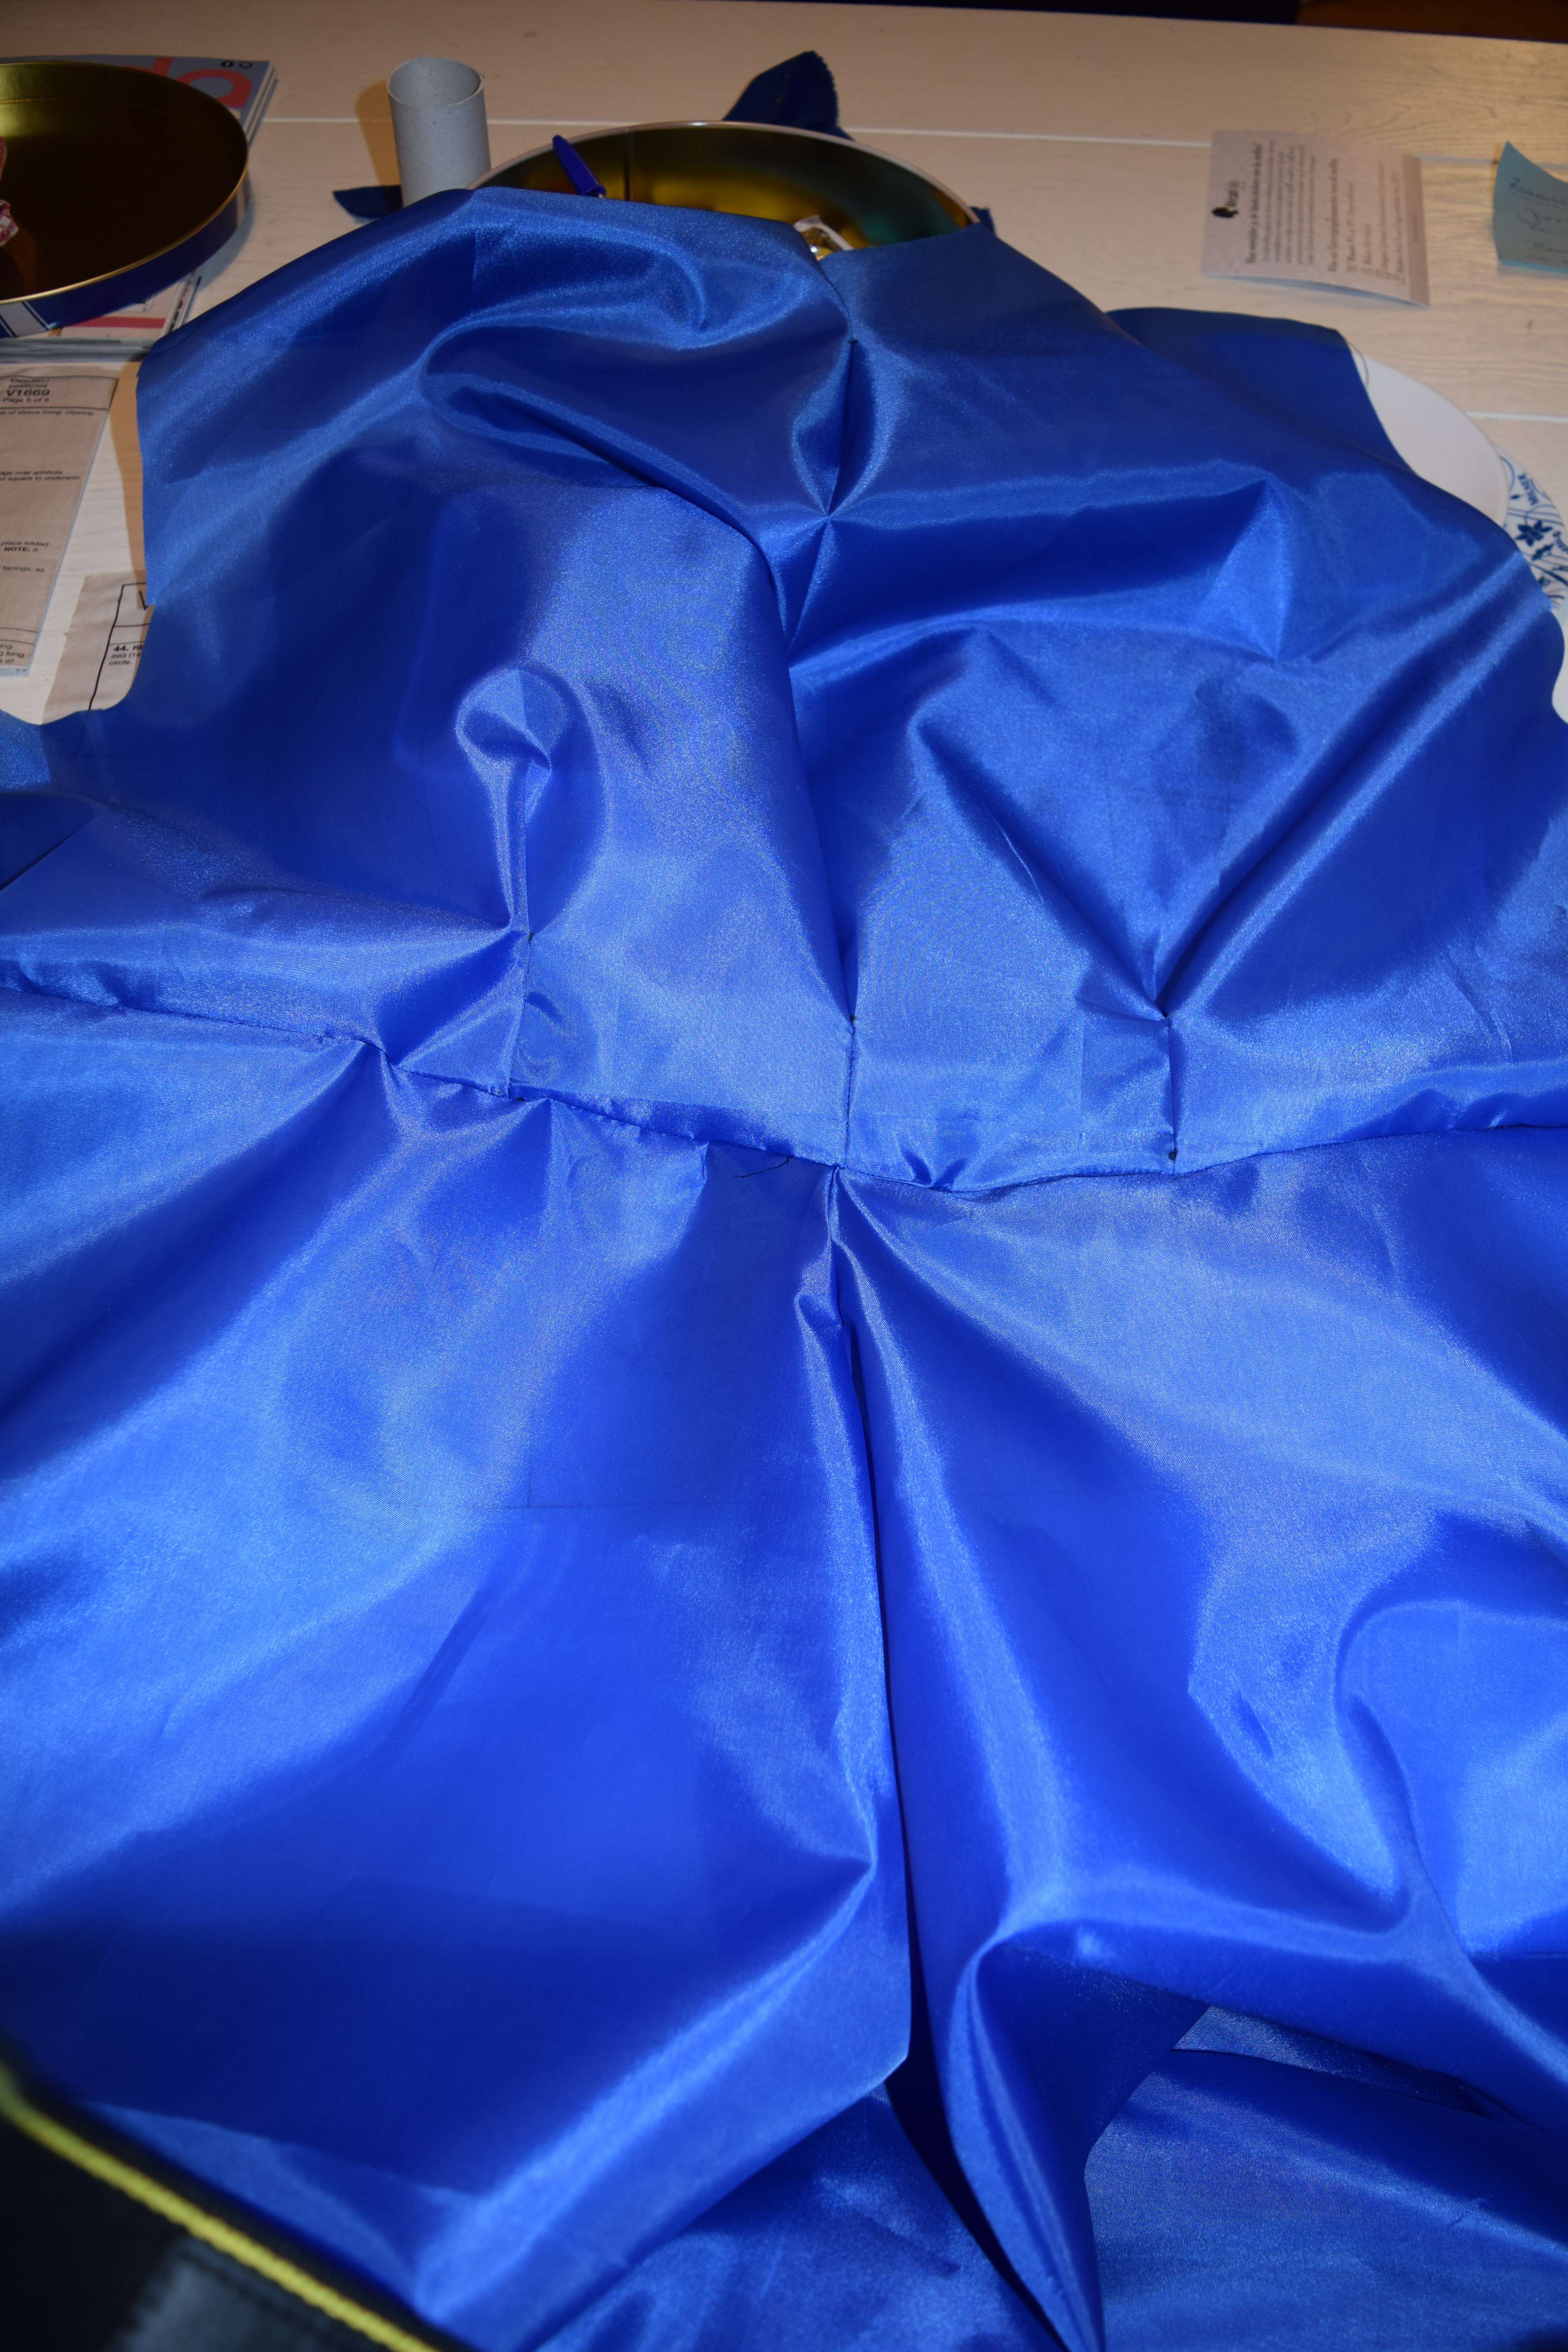
Outer coat: back part.
4 meter fabric on fold.

Part 1 (top back) with darts and Part 2 (back skirt)

Same as previous, but on inside. Before pressing.
Outer coat: front skirt and pockets.

Part 3, skirt front and parts 4, pocket flap.

Part 5, lining pocket and part 6, pocket.

Part 5+6 attached to part 3.

Part 7 side skirt reinforced.

Part 7 attached to part 8, lining pocket part 2.

Side seam of part 7 and 3.

Tip: sew the seams by machine as far as you can (side seam, pocket seam and seam from pocket to side). For the difficult corners, hand seam.
Outer coat: front bodice/collar.

And then you can try the coat on for the first time, already enjoying the pockets and bell-skirt.
We skip part 10 that is the hair canvas interfacing to strengthen the collar.
Outer coat: sleeves.

Sleeves are made from part 11 and 12. The corners of the bottom of the sleeves are mitered. Above we see the sleeve inside out and the mitered corners inside out (just after sewing).

Here the corners are turned rightside out. These beautiful corners are on the inside of the sleeves and will not be visible when wearing the coat though.
Piece 13 is used for the bound buttonholes. I decided to do machine stitched buttonholes for this coat.
Inner coat: fabric lay-out

Inner coat: front inner coat.

Inner coat: front inner coat.

Back bodice part sewn to part 18, back skirt lining.
Next is sewing the front and back part together at the side seams and the collar.
Inserting sleeves.

Part 11 and 12 form the sleeves of the outer coat.

Part 19 and 20 form the sleeves of the inner coat.
Next sewing the inner and outer coat together by stitching all around the facings and collar (one continuous long stitch).
Fabric buttons:

buttons to make fabric buttons.

It's very easy.
After finishing the hems of the skirt and the sleeves, you are done.

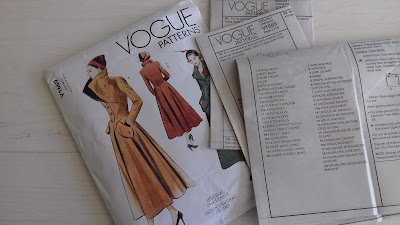
The pattern
Lined coat has fitted bodice, side front pockets with flaps, two-piece
sleeve with slit and center back pleat. View A-Contrast bodice facing
and upper collar. Views A, B-Optional bound buttonholes. Sew Rating:
AdvancedRe-issue of Vogue Couturier Design 490 from 1949.
Additional info:
- US 6-14 or US 14-22.
- Recommended fabrics: flannel, tweed or lightweight woolens
- Rated advance
- envelope pattern with multiple sizes
The fabric
- Wool, polyester and recycled wool combination. It has a great shine to it and lights up in the sun. Weight is 380 g/m² (11.2 oz.yd2) and so a little bit lighter than my first coat.
- Royal blue lining
Lining: 3 m for €1,75/m all through Budgetstoffen.nl. Site is in Dutch and German.
I did not sew interfacing. I think there are no good cheep alternatives
to canvas hair that do provide strength and not just add weight. 3 1/2
yard interfacing is way to much. Look at the instructions first so you
can make a better guess on how to place the pieces more economically.
The line drawing
The line drawing is great, although
the shape a bit exaggerated, like was the style in those days. The lines
show all the beautiful lines, from the heart shaped back, the beautiful
pockets and gorgeous lapels. It doesn't show the side seam, which is
actually two seams around the pocket and it is amazing. The pattern instructions
The
rating of the pattern is advance and some techniques might require a
Youtube search for the less experienced sewist. The instructions,
though, are very elaborate. Pictures are included in every step and are
very clear. There is one step though, I can't quite figure out. In my opinion the
part for the bound button hole is printed mirrored. Please look at step
41 to figure out if you do have orientated the piece correctly.
Sewing
The
pattern works like a breeze. Reading every step carefully and make sure
to follow every match, pin, baste, clip, press. Take every step as a
journey, enjoy the ride and it is something you will definitely are able
to make.Making an elaborate coat like this has never been easier. Pressing the wool might have been the most time consuming
step throughout.
Pattern alterations
I did not use interfacing and no shoulder pads.
I could not under stitch the pocket, but I pressed it very well
I did not use interfacing and no shoulder pads.
I could not under stitch the pocket, but I pressed it very well
Other posts


Comments
Post a Comment