Sew-along: Burda 06/2020: men's shirt 128: finished 30-06
I love the poplin. It has a beautiful mint color and has a beautiful shine to it.
But, it is very difficult to show on pictures what the right and wrong sides are since it is double printed.
I will number the pieces according to the magazine and I will color the number either green for the right sides or red for the wrong sides.
Sew along:
Part 1 is the front with a cut-on facing. The facing will be folded to the inside. Part 2 is the lower back part. Part 3 is the yoke and will be the shoulder-part. Part 4 are the sleeves and part 5 is the collar.
Using fusible interfacing to strengthen the interfacing part of the front. On the left we see part 1 and on the right part 1.
Interfacing only 1 piece of part 5 (collar). That part will be the lower collar. The one that isn't strengthened will be the upper collar.
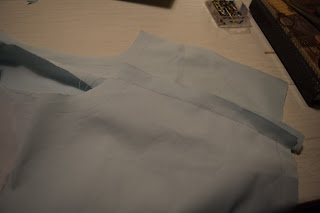
Step 1, sew the yokes (3) to the lower back part (2). Stack on top of each other: part 3 right side up, part 2, right side up, part 3 wrong side up. If we then fold one part 3 up we see the above picture. above part 3, bottom part 3, under bottom part 3 part 2.
Iron both parts 3 away from 2.
Sew the shoulder from part 1, to part 3 that will be on the outside. Above part 1 sewn to part 3 (outside). In the back part 3 that will be on the inside.
Next we will top stitch the seam allowances. Here we see part 3, sewn above to that part 1. sewn to the bottom to that part 2. The inside of the shirt is shown, but the outside looks the same.
Part 2 is completely sewn to both part 3's. Part 1 is sewn to the outer part 3. So by top stitching it means the inner is 'only' fastened by the top stitch.
The part 5 (collar) that is strengthened with interfacing is sewn to the outer side of part 3 and 1.
Then, on the inside of the shirt part 5 is top stitched to part 3 and 1.
The facing part of the front part 1 is sewn.
Sleeves part 4 are inserted and side seam is sewn.
Buttonholes. Note: mine are orientated the wrong way. Make sure the buttonholes run along the length of the facing. This way, you won't notice if the buttons aren't exactly on the same level.


Comments
Post a Comment