Sew-along: Burda vintage 50's: beach outfit Capri - finished 7-7

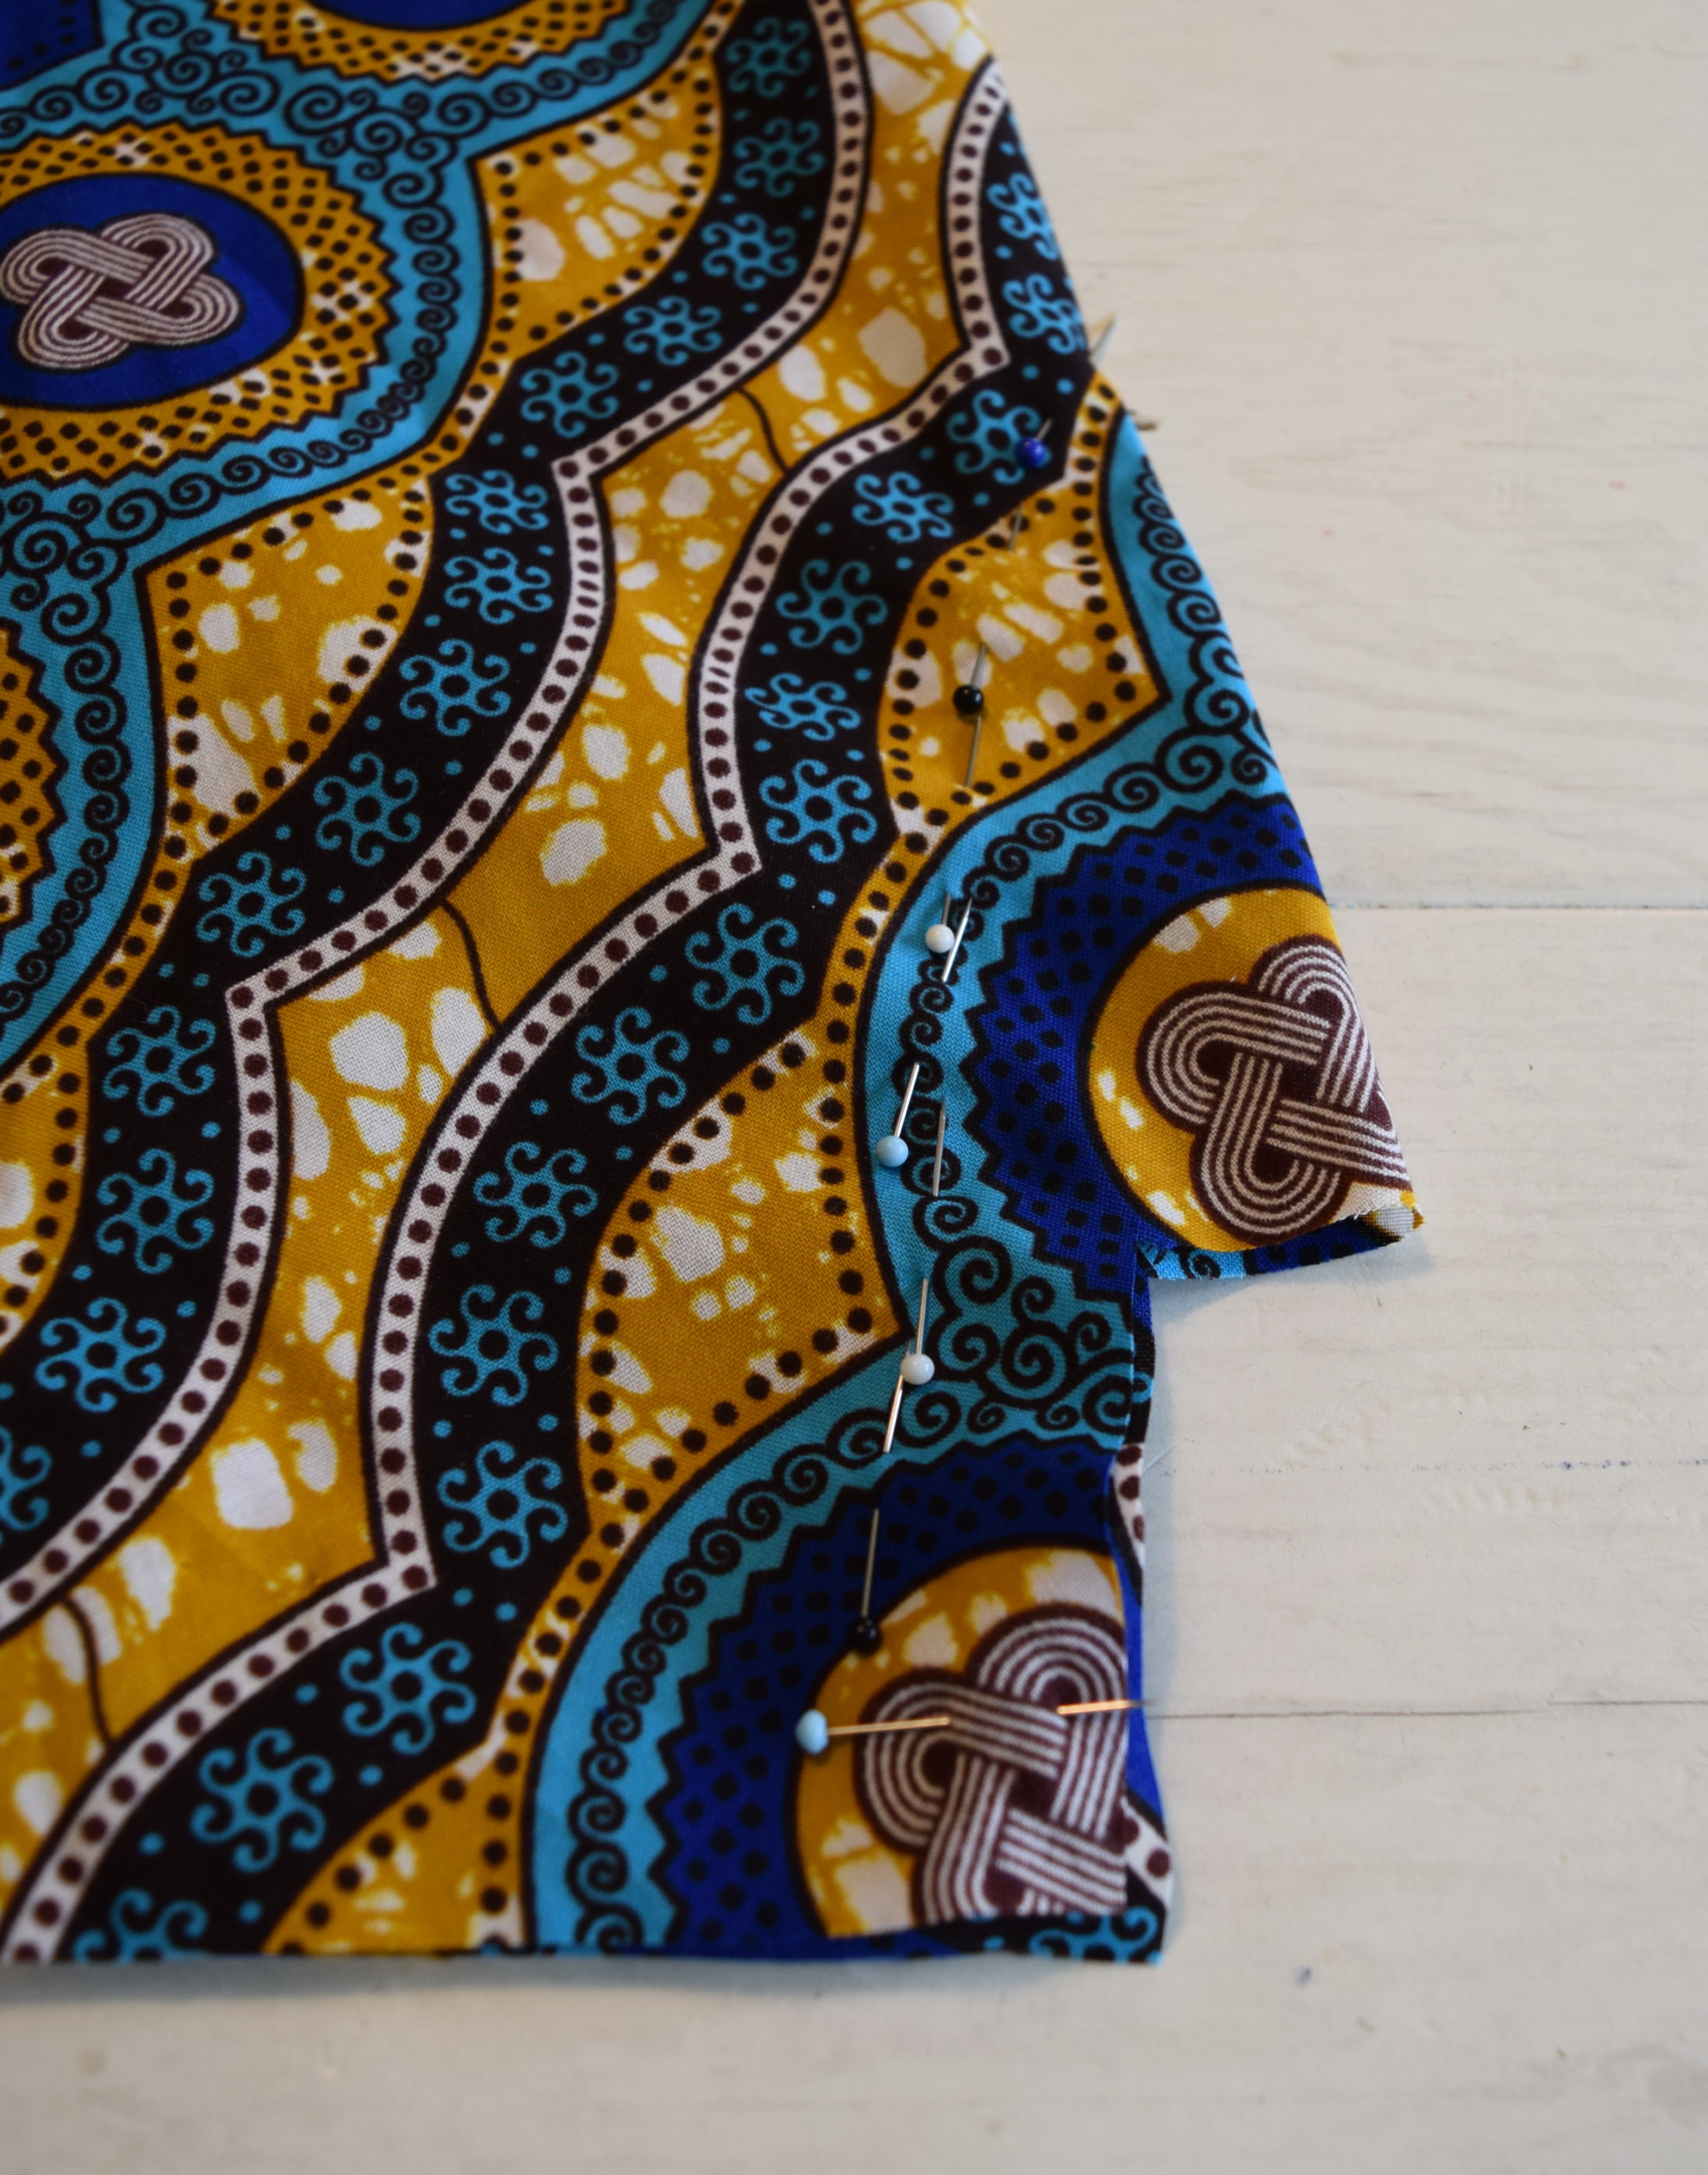
I had envisioned the diagonal stripes of the jumpsuit running one way and the skirt the other way. One great thing about African wax is that it is double side printed and therefore the back of the fabric has the stripes running the other way. An other solution is to place the pieces for the jumpsuit horizontally and the pieces of the skirt vertically.
NB. During sewing I decided to have the lines in the short run the other way as well, like the skirt. I think this was a good decision. If I would have the lines run the same way, the top and the skirt had to match up as well, something I didn't think of while cutting. I can't have the center of the top be blue and the center of the shorts be yellow. That would really look off. Sewing it the other way, makes it little bit less of an obvious cut. In retrospect I saw the yellow lines matching up. I wish I could say I intended the yellow lines to come from my hip and run diagonally up and down, but that was good luck.

Aligning pattern pieces
Burda's patterns are without seam allowance and therefore it is very easy to align the pattern. I pin down one piece, put the pattern piece next to it and draw the pattern on it. Then I place the second piece on the fabric with the right pattern.
Above the front top with two large darts making the print a little bit of. Below the center back and the two side panels.
Sewing the dart in the top front.

Side back to the left and the center back to the right. The best line up of prints in the garment.

Dart in the shorts front.

The center front seam of the shorts. The seam that runs from your bellybutton down.
The shorts back are similar with one dart and one center back seam.

Sewing top front to shorts front.

Sewing top back to shorts back. Sewing one side and a provisional (grey) zipper in the side.

First fitting with terrible lighting and a worse camera,but it fits, the lines look amazing and I love it.

Posing like a propper model makes it even better. I hope the jumpsuit will still fit if I sew the crotch of the shorts. If not, I still can make a skirt of it.

The lines on the front top really go 'off grain' a bit by the large darts. I don't think it is to much of a problem in this print, but might be in other prints.

I like how the print lines up in the back.

Crotches are always a bit difficult. I have already sewn the center seams, the ones that run from the bellybutton to the crotch and from the spine to the crotch. Next is the seam that runs on the inside of the legs. It looks like a straight seam, but is actually up one leg and down the other.

So the seams will make a cross. Horizontally will be the seams on the inside of the legs. The vertical seams go to your bellybutton or spine.

Try out for the first time with the shorts closed.

Trying with a different skirt and it looks very nice. The skirt with this outfit will have similar lines with a white waistband and a white contrast button row.
The contrast bands:


Sewing the front band to the back band.

Sewing both band together on the 'short' side.

The 'long' side (under index finger) is sewn to the top. Seam allowance (under thumb) is ironed in and top stitched in place.

Basting invisible zipper in place (white thread) and sewing with a zipper foot.
The skirt.


The skirt is made from four identical pieces. I cut the back two parts on the fold, saving one seam.
Firstly I sew a inseam pocket. It is sewn with right sides on each other.


Review with better pictures coming up.


Challenges


Comments
Post a Comment